App Data (Raw Data & Calculations)
Raw Data
After the system receives the Start App Command, it starts collecting data from the IMU inside of each node. For every node that is set as a sensor, it will collect the follwing data fields:
AccelX/Y/Z (m/s^2): raw acceleration data
GyroX/Y/Z (deg/s): raw gyroscope data
MagX/Y/Z (μT): raw magnetometer data
Quat1/2/3/4: quaternion data (scaler first order)
Sampletime: timestamp of the sensor
Package: package number of the sensor
Note
To set a node as a sensor or feedback node, simply update the info.json lines pictured below:
"sensors": ["sensor"],
"feedback": ["min feedback", "max feedback"],
Custom Data Fields (AKA: “User Fields”)
- In order for the data to be sent correctly, the fields must first be listed in the info.json file. Here is a sample of what that may look like:
"user_fields": [
      {"name": "time", "data_type": "float", "size":1},
      {"name": "angle","data_type": "float", "size":1},
      {"name": "angle_min","data_type": "float", "size":1},
      {"name": "angle_max","data_type": "float", "size":1},
      {"name": "min_feedback_state","data_type": "int", "size":1},
      {"name": "max_feedback_state","data_type": "int", "size":1}],
- Then in the
run_in_loop()function you would have it structured like this: #GET RAW SENSOR DATA data - self.my_sage.get_next_data() #PERFORM CALCUATIONS #CREATE CUSTOM DATA PACKET my_data - {'time': [self.iteration/self.info["datarate"]], 'angle': [this_angle], 'angle_min': [this_angle_min], 'angle_max': [this_angle_max], 'min_feedback_state': [min_feedback_state], 'max_feedback_state': [max_feedback_state] } # SAVE DATA self.my_sage.save_data(data, my_data) # STREAM DATA self.my_sage.send_stream_data(data, my_data) return True
Each user field has the following requirements:
name is the name of the field. There are no restrictions on the name of the field except for the “Magic Fields” discussed below.
data_type is the data type of the field. The following data types are supported:
float: A floating point number, which is a regular number with a decimal point (e.g., 6.28).
int: An integer, which is a whole number (e.g., 6).
bool: A boolean value, which is either True or False (e.g., True). Booleans will not be visible in the plot since you can’t plot boolean values.
str: A string value, which is a sequence of characters (e.g., “Hello World”). String values will not be visible in the plot since you can’t plot strings of characters.
size is how many elements are in the field. For example, if you have a field called “GRF” for the Ground Reaction Forces and you want to store the x, y, and z components of the GRF, you could set the size to 3. In the exported data, this will be saved in columns as “GRF_1”, “GRF_2”, and “GRF_3”. In most cases, it is better to just have three user fields of size 1 for the x, y, and z components of the GRF that will save in the file “GRF_x”, “GRF_y”, and “GRF_z”.
Magic Fields
There are a few “magic fields” that do more than just store data or as as inputs into the app. These fields are divided into fields that are part of the user_fields and fields that are part of the parameter_settings.
User Fields Magic Fields
user_defined_status (SageOS > 3.6.0)
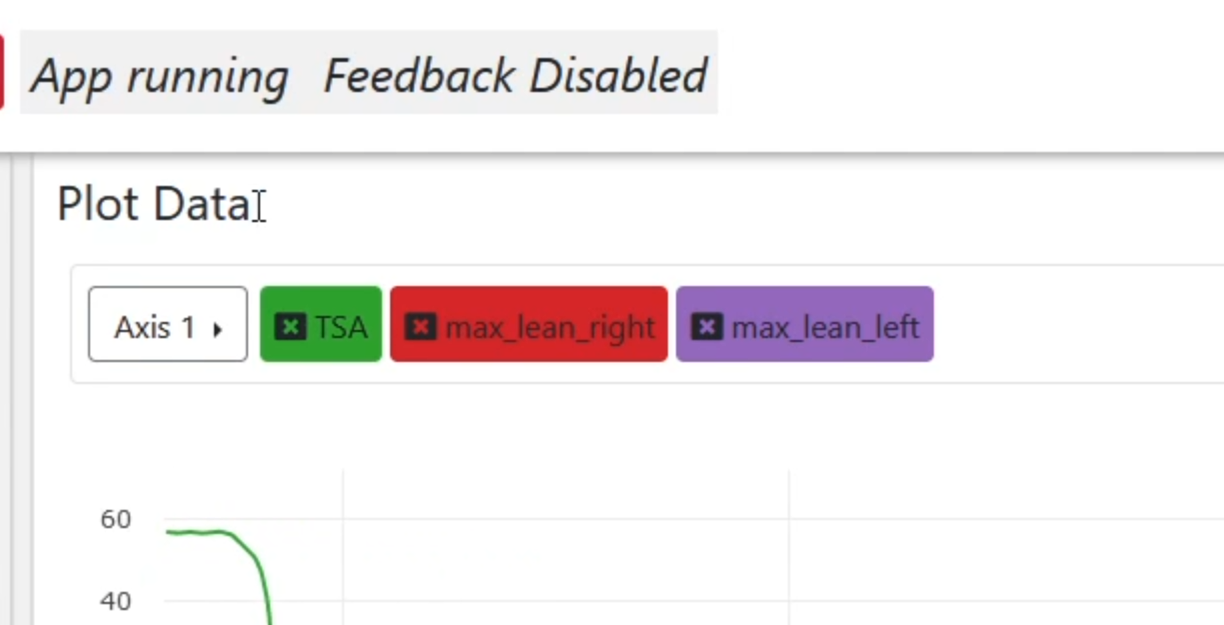
This field will set the status above the plot for the app. The status can be set to any string value. For example, if you want to display “Feedback Disabled” above the plot, you would set the value of “user_defined_status” to “Feedback Disabled”. This field is a string value and has a size of 1. The field will continusouly display whatever is passed to it until the value is changed to “” - an emtpy string.
- Here is an example of how to set the “user_defined_status” field in the info.json file:
"user_fields": [
      {"name": "user_defined_status", "data_type": "str", "size":1}],
- Here is an example of how to set the “user_defined_status” field in the run_in_loop() function:
my_data = {'user_defined_status': ["Feedback Disabled"]}
annotations (SageOS > 3.19.6)
This field will enable adding annotations to the chart in real time. This field is a string value and has a size of 1.
We use the plotly engine for displaying the chart in real time and the specific documenatation about the annotation configuration can be found here: https://plotly.com/python/text-and-annotations/
- Here is an example of how to set the “annotation” field in the info.json file:
"user_fields": [
      {"name": "annotations", "data_type": "str", "size": 1}],
- Here is an example of how to send the “annotations” field in the run_in_loop() function:
if self.time >= 5 and self.time < 5.1:
  annotations = {"x": str(5), "y": '.9', "xref": 'x', "yref": 'paper', "text": 'Look here!'}

self.time += self.samplePeriod
my_data = {"time" : [self.time],
          "annotations": [annotations]}
Note
If you send the annotation only once, it is possible that it will not be displayed due to the chart sampling the data. It is best to send it over a time period (ex: 100 miliseconds) to make sure it is displayed to the user.
audio_feedback (SageOS > 3.19.7)
This field will enable the system to speak whatever is passed to it. This field is a string value and has a size of 1. For example, if you want the system to say “Hello World”, you would set the value of “audio_feedback” to “Hello World”. The system will continusouly speak whatever is passed to it until the value is changed to “” - an emtpy string.
- Here is an example of how to set the “audio_feedback” field in the info.json file:
"user_fields": [
      {"name": "audio_feedback", "data_type": "str", "size":1}],
- Here is an example of how to set the “audio_feedback” field in the run_in_loop() function:
my_data = {'audio_feedback': ["Hello World"]}
Parameter Settings Magic Fields
feedback_enabled (SageOS > 4.2.2)
This parameter setting will allow the OS to not require feedback nodes to be paired for the app to run if feedback_enabled is False. Normally, the system will check that all of the nodes in the info.json file to be paired before the app starts. Sometimes you might not need the feedback nodes for a trial or experiment, so pairing them is not nessesary. This setting will disable the requirement for the feedback nodes to be paired. This parameter setting should also be used in the app to disable parts of the code that deliver the feedback.
- Here is an example of how to set the “feedback_enabled” parameter setting in the info.json file:
"parameters_setting": [
  ["Feedback Settings",
    { "source": "feedback_enabled",
      "title": "Feedback On",
      "type": "bool",
      "description": "Enable/Disable feedback"
    },
- Here is an example of how to use the “feedback_enabled” parameter setting in the run_in_loop() function:
if self.config["feedback_enabled"]:
    if threshold_met == True:
        self.my_sage.feedback_vibration_on(feedback_node)